File No. :365
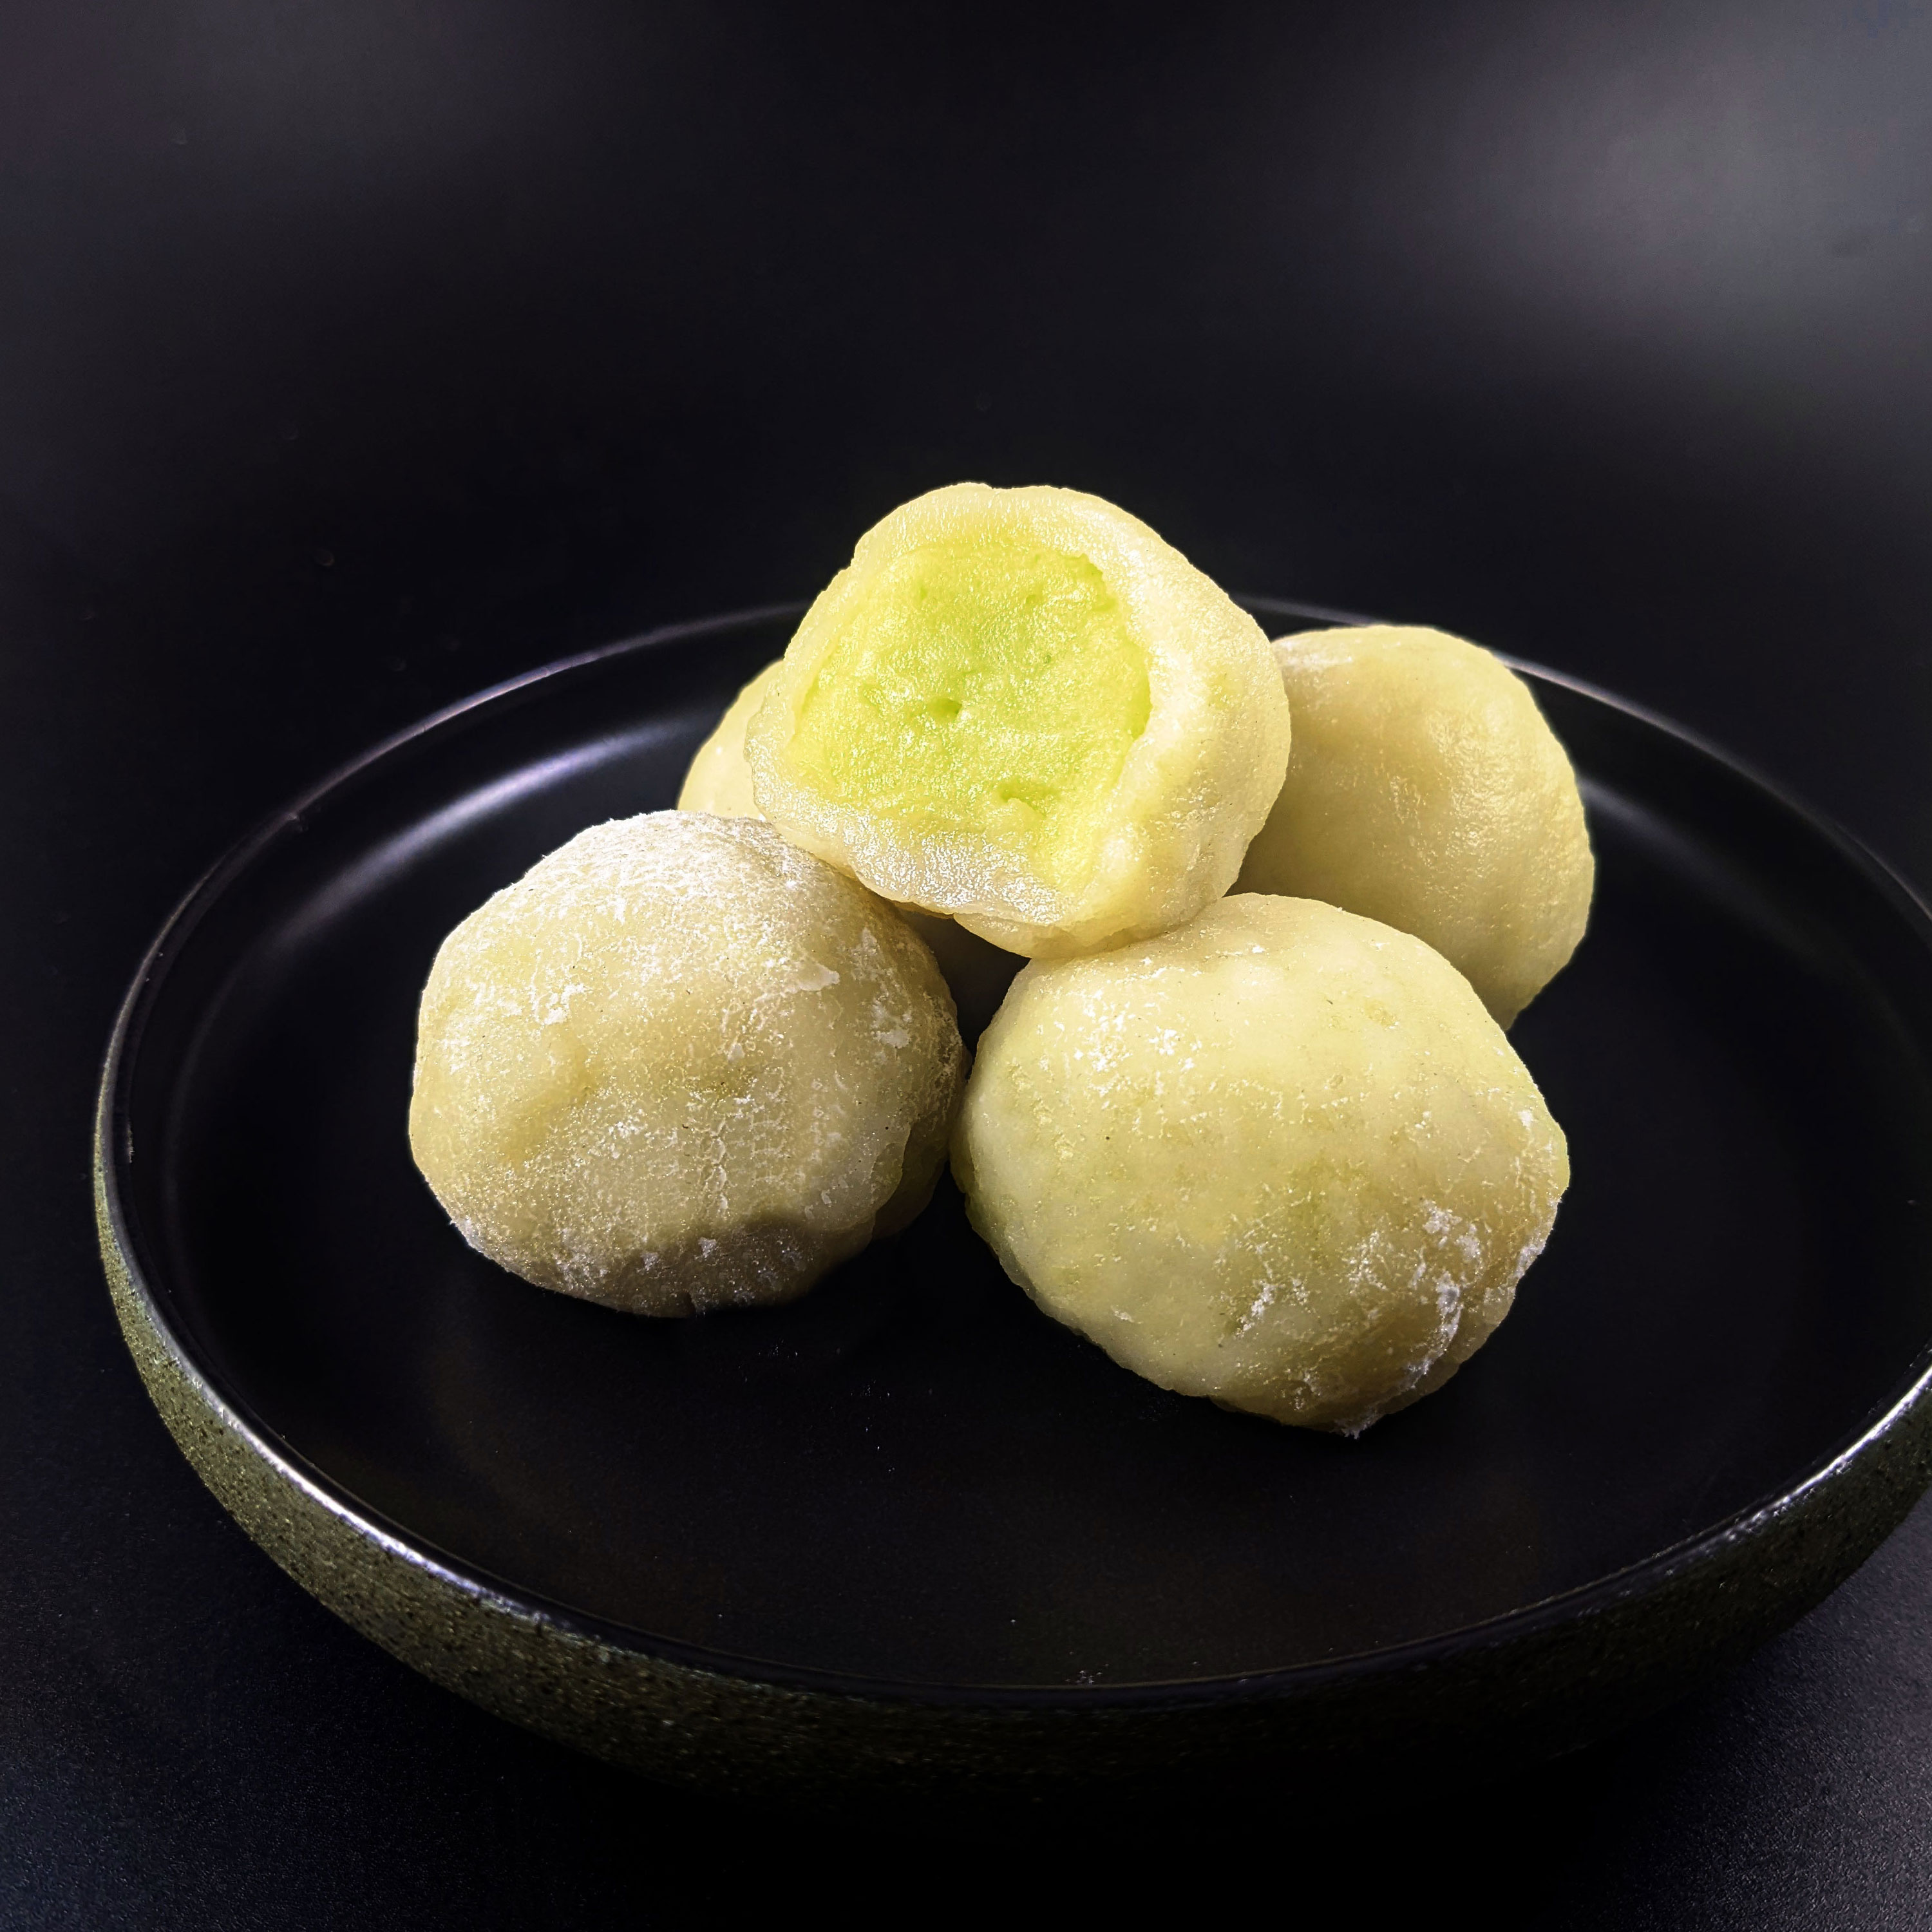
Moon Man Mochi
Delicious Moon Man Kaya Jam flavored mochi. Perfect for snack and tea time.
Difficulty: medium
Duration: approximately 30 minutes
Ingredients:
- 50 grams (2 oz) peeled split mung bean
- 5 tbsp Moon Man kaya jam of your choice
- 1 tbsp sugar
- 1 pinch of salt
- 1/4 cup of mochiko flour
- 6 tbsp water
- 1 tbsp sugar
- potato starch
Optional:
- toasted sesame to coat the mochi
Instructions:
- Wash the mung bean 4-5 times, and soak it in warm water for at least 4 hours.
- Drain the mung bean and steam for 20 minutes, until you can mash it with the back of a spoon easily. If they're still hard, steam it for another 5-10 minutes.
- Mix the mung bean with the kaya jam, 1 tbsp of sugar, and a pinch of salt while it's still warm, and run it in a food processor until it turns into a smooth dough.
- Coat your hands with oil, divide the filling into 6, and forms balls. Cover the filling with plastic wrap and put them in the freezer.
- To make the mochi skin, mix mochiko with the water, and 1 tbsp of sugar thoroughly. Cover with plastic wrap and microwave it on high heat for 2 minutes.
- Carefully take it out of the microwave, and mix it up to make sure the mochi is cooked evenly. Cover it up, and microwave it again for another minute.
- Carefully put the mochi on a surface covered with potato starch, and cover the mochi with it to stop it from sticking.
- Divide the mochi into 6 even pieces. When it's safe to touch, form a round ball and press it with your hand to make a round flat shape.
- Take out the filling from the freezer and cover each individual filling with the mochi skin. Pinch it to seal.
- optional: you can wet the outer layer of the mochi, to make it sticky again, and roll it with toasted sesame if you want sesame-covered mochi.
- If you want to keep the mochi for a long period of time, we recommend wrapping each mochi individually with plastic wrap and putting them in the freezer. When you want one, just taw to room temperature and enjoy.
© 2026 HELLO MOON MAN LLC. | DESIGN: CORSE


